Amazon Bulk Operations: The Complete Bulksheets Guide
Amazon bulk operations (Bulksheets) let you create, update, and manage Sponsored Products, Sponsored Brands, and Sponsored Display campaign entities — campaigns, ad groups, ads, keywords, and targets — from a single downloadable spreadsheet. If you’re managing more than a handful of campaigns, this is the fastest way to make consistent changes at scale without clicking through Campaign Manager one row at a time.
Two situations where Bulksheets pay off immediately:
- Large-scale campaign creation: Build dozens or hundreds of campaigns, ad groups, and targeting rows in one structured file, then upload once.
- Mass edits: Adjust bids, swap match types, pause underperformers, or rename campaigns across your entire account in minutes.
One important distinction before you go further: Amazon Ads Bulksheets live inside the advertising console and control your PPC campaigns. Amazon Business bulk buying is a separate procurement flow for purchasing inventory at volume. They share similar-sounding names but have nothing to do with each other. Use the wrong portal and you’ll waste time with zero results.
Table of Contents
- How do you access bulk operations in Amazon Ads Campaign Manager?
- How do you create and download a custom Bulksheets spreadsheet?
- What do the core Bulksheets columns actually mean?
- How do parent/child relationships work across campaign rows?
- How do you create campaigns with Bulksheets? Auto and manual examples
- How do you update existing campaigns safely with Bulksheets?
- What causes bulk upload errors, and how do you fix them?
- What are the best practices for running Bulksheets at scale?
- What are your options for automating Bulksheets beyond manual uploads?
- How do you verify that bulk changes actually worked?
- Key Takeaways
- The part most Bulksheets guides won’t tell you
- Selloop handles the bulk workflow you’d rather not build yourself
- Official docs and useful reading
How do you access bulk operations in Amazon Ads Campaign Manager?
The Bulksheets hub sits inside Campaign Manager, Amazon’s advertising console. Here’s the exact path:
- Sign in to your advertising account at advertising.amazon.com
- Select the account you want to manage (agency users: choose the correct client account from the account switcher)
The Amazon Ads Advanced Tools Center documents the no-code landing flow and the access options available at this hub. If you don’t see Bulk operations in the nav, check two things: your account role (you need at least advertiser-level access, not read-only) and whether multi-factor authentication is fully set up. Read-only users and some agency sub-accounts are blocked from the upload function even when they can see the download option.
Developer sign-in is only required if you’re accessing Bulksheets programmatically through the Ads API. For the spreadsheet-based workflow this guide covers, standard advertiser credentials are enough.
How do you create and download a custom Bulksheets spreadsheet?
The Amazon Ads Support Center documents the full upload process and supported entities, but the download flow is where most sellers start. Here’s how to generate a file scoped exactly to what you need:
- From the Bulk operations hub, click Create spreadsheet for download.
- Select the entity scope: Campaigns, Ad groups, Ads, Keywords, Product targets, or any combination. Narrow this to only what you plan to edit — a smaller file is faster to work with and less risky to upload.
- Choose a date range for existing data if you’re pulling live campaign data (useful for bid updates).
- Select file format: Tab-delimited (.tsv) is the default and the safest choice. Excel (.xlsx) is accepted but can introduce formatting issues on upload.
- Click Download and save the file immediately with a descriptive name.
File naming matters. A naming convention like AccountName_EntityType_YYYYMMDD_v1.tsv takes ten seconds to set up and saves hours of confusion when you’re managing multiple accounts or iterating on the same file.
Pro Tip: Save the raw downloaded file as your master copy before touching a single cell. Work only on a versioned duplicate (v1, v2, etc.). If an upload goes wrong, you can always diff your edited version against the untouched master to find exactly what changed.
What do the core Bulksheets columns actually mean?
The Bulk operations user guide is the authoritative reference for every column definition, but the three columns that control everything are Product, Entity, and Operation.
- Product — tells Amazon which ad type the row applies to:
Sponsored Products,Sponsored Brands, orSponsored Display. Every row needs this. - Entity — tells Amazon which level of the hierarchy the row targets:
Campaign,Ad Group,Ad,Keyword,Product Target, orNegative Keyword. Entity is what decides which other columns become required on that row. - Operation — tells Amazon what to do with the row:
create,update,delete, or left blank to leave the entity untouched. A blank Operation is how you keep reference rows in the file without re-applying them.
Get any of these three wrong and the entire row fails. The rest of the columns carry the actual data.
| Column | What it holds | Notes |
|---|---|---|
| Campaign Name | Human-readable campaign label | Required for create; must match exactly for update |
| Campaign ID | Amazon’s internal ID | Required for update/delete when names might conflict |
| Ad Group Name | Human-readable ad group label | Required for ad group, ad, and target rows |
| Ad Group ID | Amazon’s internal ID | Required for update/delete on child entities |
| Match Type | broad, phrase, exact, negativeExact, negativePhrase |
Keywords only |
| Keyword / Target | The keyword text or ASIN/category expression | Required for keyword and target rows |
| Bid | Numeric bid in dollars | Required for create; optional for update (only include if changing) |
| Status | enabled, paused, archived |
Applies to any entity |
| Start Date | YYYYMMDD format |
Campaign-level only |
| End Date | YYYYMMDD format |
Leave blank for no end date |
Pro Tip: For Operation values, default to update when editing existing entities and create for new ones. Never put delete in a bulk file unless you’ve triple-checked the rows — deleted entities cannot be recovered. If you’re unsure, use paused instead of delete until you’ve confirmed the change is correct.
How do parent/child relationships work across campaign rows?
Every entity in a Bulksheets file exists in a hierarchy, and each child row must correctly reference its parent. Amazon won’t create an ad group if it can’t find the campaign it belongs to, and it won’t create an ad if the ad group row is missing or mismatched.
The hierarchy runs: Campaign → Ad Group → Ad → Keyword/Target
Here’s what a correctly structured set of rows looks like:
- Row 1 (Campaign): Product=
Sponsored Products, Entity=Campaign, Operation=create, Campaign Name=SP_AutoCampaign_Widgets_US - Row 2 (Ad Group): Product=
Sponsored Products, Entity=Ad Group, Operation=create, Campaign Name=SP_AutoCampaign_Widgets_US, Ad Group Name=AdGroup_Auto_Widgets - Row 3 (Ad): Product=
Sponsored Products, Entity=Ad, Operation=create, Campaign Name=SP_AutoCampaign_Widgets_US, Ad Group Name=AdGroup_Auto_Widgets, ASIN=B00EXAMPLE - Row 4 (Target): Product=
Sponsored Products, Entity=Product Target, Operation=create, Campaign Name=SP_AutoCampaign_Widgets_US, Ad Group Name=AdGroup_Auto_Widgets, Targeting Expression=auto
A few rules that trip people up:
- When creating new entities, names are sufficient for parent references. When updating or deleting existing entities, always include the Campaign ID and Ad Group ID — names can change, IDs cannot.
- All rows for a given campaign don’t need to be adjacent, but keeping them grouped makes the file easier to audit.
- If a parent row fails (say, the campaign create fails due to a budget error), all child rows referencing that parent will also fail. Fix the parent first, then re-upload the children.
How do you create campaigns with Bulksheets? Auto and manual examples
Two example row sets cover the most common Sponsored Products scenarios. These are the minimum required columns for each.
Auto-targeting Sponsored Products campaign
| Column | Value |
|---|---|
| Product | Sponsored Products |
| Entity | Campaign |
| Operation | create |
| Campaign Name | SP_AutoCampaign_Widgets_US |
| Campaign Type | sponsoredProducts |
| Targeting Type | auto |
| Status | enabled |
Then add an Ad Group row and a Product Target row with Targeting Expression=auto and your starting bid. Auto campaigns don’t require keyword rows — Amazon handles targeting automatically.
Manual-targeting Sponsored Products campaign
The campaign row is nearly identical, but Targeting Type becomes manual. You then add keyword rows for each match type you want:
| Column | Value |
|---|---|
| Entity | Keyword |
| Operation | create |
| Campaign Name | SP_ManualCampaign_Widgets_US |
| Ad Group Name | AdGroup_Exact_Widgets |
| Keyword | widget stand |
| Match Type | exact |
| Status | enabled |
Repeat keyword rows for phrase and broad match types as needed. For negative keyword management at scale, add rows with Match Type=negativeExact or negativePhrase.
Sponsored Brands require additional creative columns: Brand Name, Headline, Creative ASIN List (up to three ASINs), and a Landing Page URL. Sponsored Display adds audience and targeting expression fields. Both are covered in the official user guide with their full column sets.
Pro Tip: Build your first manual campaign in Campaign Manager’s UI, then immediately download a Bulksheets export of just that campaign. You’ll get a perfectly formatted example row set to use as a template for every future manual campaign you create.
How do you update existing campaigns safely with Bulksheets?
The update workflow has three steps: download, edit, upload. The risk lives in step two.
Download a fresh export scoped to only the campaigns you plan to change. Set Operation=update on every row you’re modifying. Then change only the columns that need to change — leave everything else blank or at its current value. Amazon treats a blank cell in an update row as “no change,” so you don’t need to repopulate every column.
Common update patterns:
- Status change: set Status=
pausedor Status=enabledacross a filtered set of campaigns or ad groups. - Bid adjustment: set Operation=
updateand populate only the Bid column on the keyword or target rows. Leave every other column exactly as exported. - Budget change: update Daily Budget on campaign rows only — the column is ignored on child entities.
- Negative keyword rollout: add rows with Entity=
Negative Keywordand Match Type=negativeExactornegativePhraseto block wasted spend across many ad groups at once.
Pro Tip: Never run a bulk update across your entire account on the first pass. Pull 5–10 campaigns, make the change, upload, and verify the results in Campaign Manager before scaling to the full account. A bid error on 10 campaigns is recoverable. The same error on 500 campaigns can burn through budget in hours.
What causes bulk upload errors, and how do you fix them?
Amazon generates an error report after every failed or partially failed upload. Download it from the Bulk operations hub immediately after upload — it’s a CSV with an Error column that describes exactly which rows failed and why.
Common failures:
- Format mismatch: The file was saved as .xlsx with special characters or merged cells. Save as plain .tsv and re-upload.
- Missing required fields: A create row is missing Campaign Name, Daily Budget, or Targeting Type. Check the user guide for the required columns per entity type.
- Parent ID not found: An ad group row references a Campaign ID that doesn’t exist or was mistyped. Pull a fresh export to get current IDs.
- Invalid bid values: Bids below Amazon’s minimum (varies by marketplace) or non-numeric values in the Bid column. Check for currency symbols or commas in numeric cells.
- Too many rows: Amazon’s upload limits vary by account and entity type. If you’re hitting limits, split the file into smaller batches.
The fix-and-retry workflow:
- Download the error report and filter to rows where the Error column is populated.
- Correct each flagged row in your local file.
- Upload only the corrected rows as a new file (don’t re-upload the full original).
- Monitor Campaign Manager for 15–30 minutes to confirm changes applied correctly.
Before re-uploading after a service-side failure (not a data error), check status.ads.amazon.com to confirm the upload service is healthy. Retrying during a known incident just queues up more failures.
One warning worth repeating: a successful upload applies changes immediately to live campaigns. There’s no staging environment. Always keep your versioned backup so you can identify exactly what changed if something goes wrong.
What are the best practices for running Bulksheets at scale?
Bulksheets become risky when teams treat them like scratch paper. Treat them like a deployable artifact instead.
Before upload:
- Confirm the filename includes account name, entity scope, date, and version number.
- Run a column validation pass: check that Product, Entity, and Operation are populated on every row.
- Scan for blank required fields using a spreadsheet filter on the Campaign Name and Bid columns.
- Verify that all Campaign IDs and Ad Group IDs match a fresh export (IDs don’t change; names do).
Governance:
- Require a second reviewer to approve the diff between the master file and the upload file before anyone clicks upload.
- Schedule large uploads outside peak traffic hours (early morning US time tends to be quieter for the upload service).
- Test with a small sample batch first, every time, even for routine updates.
File management:
- Amazon accepts .tsv and .xlsx formats. Stick with .tsv for reliability.
- Keep archived copies of every uploaded file for at least 90 days. If a campaign performance issue surfaces weeks later, you’ll want to trace it back to a specific upload.
- Large files with tens of thousands of rows can time out. Split files by campaign type or entity type when you’re approaching account-level limits.
What are your options for automating Bulksheets beyond manual uploads?
Manual Bulksheets work well for occasional large changes. For teams making weekly or daily updates across hundreds of campaigns, the manual cycle gets slow fast. Four automation paths exist, each with real tradeoffs.
- Scheduled bulksheet exports/imports: Some sellers automate the download-edit-upload cycle using macros or scheduled scripts. Low setup cost, but fragile — any format change from Amazon breaks the script.
- Amazon Ads API: The Ads advanced tools GitHub repo includes developer references and sample code for programmatic bulksheet creation and parsing. Full control, but requires engineering time to build and maintain.
- Managed SaaS: a platform connected to the Ads API applies the changes for you and tracks the outcome of each one. No build time and no maintenance, in exchange for less low-level control than a custom integration.
- Google Sheets integration: The Amazon Bulk Operations app on Google Workspace Marketplace lets you work with bulksheets directly from Google Sheets, which is useful for teams that already live in Google’s ecosystem.
| Approach | Build time | Maintenance | Control | Best for |
|---|---|---|---|---|
| Manual Bulksheets | None | Low | High | Occasional large changes |
| Google Sheets app | Minimal | Low | Medium | Teams already in Google Workspace |
| Local scripts | Weeks | Medium-high | Very high | Engineering-resourced teams |
| Ads API | Months | High | Maximum | Enterprise/agency custom builds |
| Managed SaaS | None | None | Medium | Sellers who want results, not infrastructure |
Pro Tip: If you’re evaluating Amazon PPC optimization software, check whether the tool tracks the outcome of each change over time — not just whether the upload succeeded. A tool that applies a bid change but doesn’t tell you whether it improved ACoS is only solving half the problem.
How do you verify that bulk changes actually worked?
Applying a Bulksheets update is step one. Knowing whether it worked is step two, and most sellers skip it.
Verify results over a fixed 21-day window after each bulk change. That window matters because Amazon’s attribution model can take 7–14 days to fully credit conversions to the correct campaign, and the algorithm needs additional time to respond to bid changes. Checking results at 48 hours gives you noise, not signal.
Verification process:
- Within the first hour: confirm the change actually applied in Campaign Manager — bids, status, and keywords should match what you uploaded, row for row.
- Daily for the first week: watch impressions and spend for a sudden collapse or spike. That is how you catch a mistyped bid or an accidental pause before it costs real money.
- At 21 days: compare ACoS, ROAS, and conversion volume against the 21 days before the change, and only then decide whether the change worked.
For bid changes, a meaningful improvement is a directional shift in ACoS or ROAS that holds across at least two weeks of data. If results move in the wrong direction after 21 days, roll back using a new Bulksheets update file. For deeper ad optimization strategies, the 21-day window applies to any significant campaign change, not just bulk uploads.
One note on Amazon Business procurement: if you’re also managing large purchase orders through Amazon Business, the RFQ tool handles custom pricing for orders above $10K or 999+ units and is entirely separate from this advertising workflow. Don’t mix the two consoles.
Key Takeaways
Bulksheets are the most efficient way to create and update Amazon Ads campaigns at scale, but safe execution requires versioned files, small test batches, and a 21-day verification window before drawing conclusions.
| Point | Details |
|---|---|
| Access via Campaign Manager | Find Bulk operations in the left nav under Sponsored ads; advertiser-level access required. |
| Version every file | Name files with account, entity scope, date, and version number; keep a master copy untouched. |
| Test before scaling | Upload 5–10 campaigns first, verify in Campaign Manager, then expand to the full account. |
| Verify over 21 days | Track CTR, CVR, ACoS, and ROAS for 21 days post-upload before judging whether a change worked. |
| Selloop for managed automation | Selloop applies changes, tracks 21-day impact, and flags what’s working without requiring you to build API integrations. |
The part most Bulksheets guides won’t tell you
The real failure mode with Bulksheets isn’t a format error or a missing column. It’s the confidence problem: sellers get comfortable with the workflow, start uploading larger and larger files, and stop verifying results. A bid change that looked right in a spreadsheet can quietly drain budget for three weeks before anyone notices, because no one set up a baseline before the upload.
The 21-day verification window isn’t a nice-to-have. It’s the only honest way to know whether a bulk change improved performance or just changed numbers. And the sellers who skip it are usually the ones who later can’t explain why their ACoS jumped in a particular month.
There’s also a real question about when to stop doing this manually. Bulksheets are powerful, but they’re a tool for applying decisions, not making them. If you’re spending more time managing spreadsheet versions than analyzing performance, you’ve crossed the line where automation pays for itself. The right answer isn’t always “build an Ads API integration” — for most sellers, a managed tool that handles the application and verification loop is faster to value and cheaper to maintain than a custom script that breaks every time Amazon updates a column name.
Selloop handles the bulk workflow you’d rather not build yourself
Bulksheets give you control. What they don’t give you is analysis, recommendations, or any automatic way to know whether a change worked. That’s the gap Selloop fills.
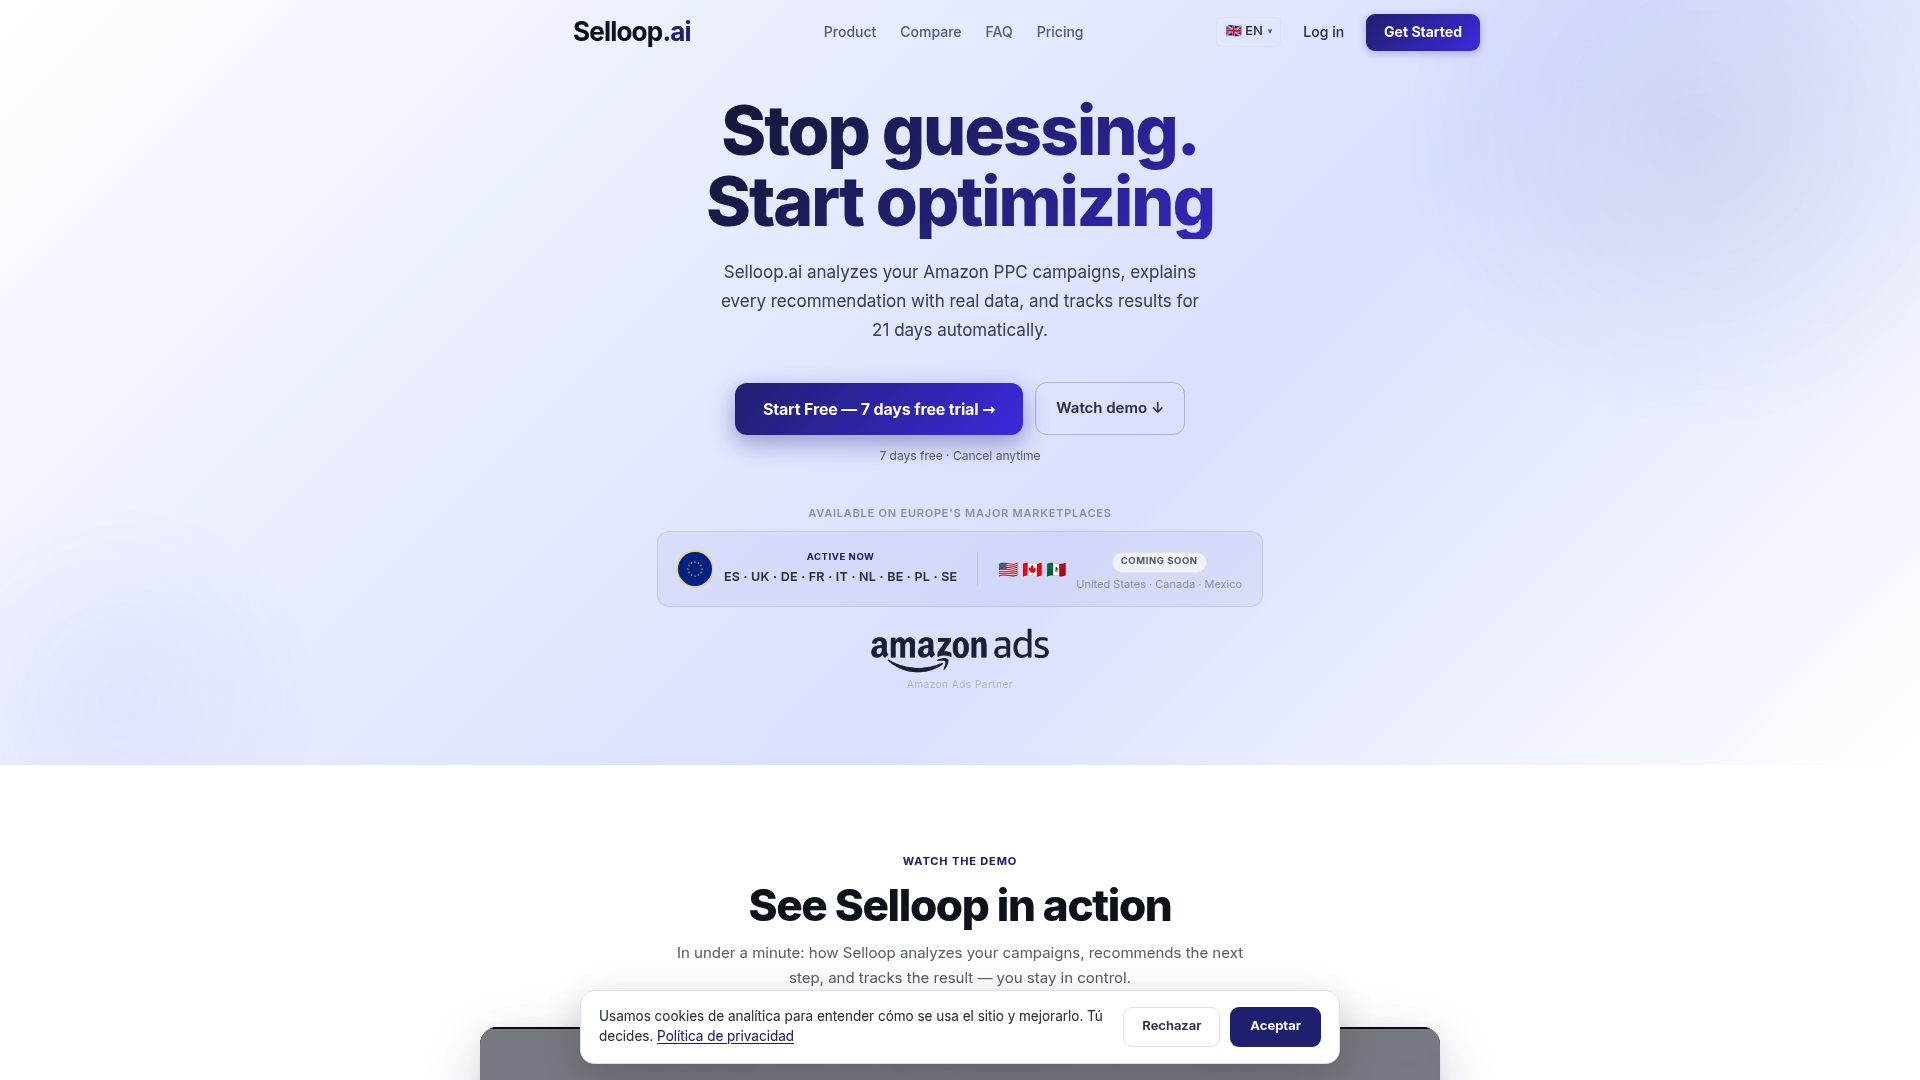
Selloop analyzes your Sponsored Products and Sponsored Brands campaigns, identifies where budget is being wasted, and generates data-backed recommendations — which bids to raise, which keywords to harvest, which search terms to negate. You approve each change with one click. Selloop applies it directly to Amazon and tracks the result over a 21-day window, so you see exactly what moved and why. No spreadsheets to version. No API integration to maintain. No guessing whether the change worked.
Plans start at €29/month with a 7-day free trial. For sellers and agencies who want the outcome of a sophisticated bulk workflow without the overhead of building one, start your free trial at Selloop.ai.
Official docs and useful reading
The resources below are worth bookmarking. The Bulk operations user guide is the primary reference for column definitions, error codes, and format requirements.
- Bulk operations user guide (PDF) — The authoritative reference for every column, entity relationship, Operation value, and error report format. Start here when troubleshooting.
- Get Started with Bulksheets Part I — Amazon’s official step-by-step introduction to creating and uploading bulksheets for Sponsored campaigns.
- Amazon Ads advanced tools GitHub repo: Developer references and sample code for teams automating bulksheet creation or parsing via the Ads API.
- Amazon Bulk Operations — Google Workspace Marketplace: Third-party app for working with bulksheets directly from Google Sheets.
- Amazon Business bulk buying — The procurement tool for volume purchasing — not advertising. Bookmark this to remember which portal does what.
- status.ads.amazon.com — Amazon’s Ads service status page. Check here before retrying a failed upload — a service incident will cause repeated failures regardless of your file quality.